Shallow surface spalls can be patched by a careful homeowner; exposed or deep spalls that show corroded rebar need a licensed contractor or engineer. Before you touch a trowel, document the damage with photos, keep foot and vehicle traffic off the area, and keep it dry while you work through a quick assessment to figure out which category you’re dealing with.
TL;DR:
- A hollow sound signals delamination; spalls under half an inch deep without exposed steel are usually patchable, but rebar loss needs professional assessment.
- Use a saw to cut a clean perimeter, remove unsound concrete, and prepare the cavity damp without standing water before applying repair mortar.
- Most repair mortars need at least seven days of moist curing, unless the manufacturer specifies a different method; premature drying weakens the bond.
- Reseal exterior concrete about every 3 to 5 years, avoid aggressive deicers on concrete under a year old, and correct drainage that leaves standing water.
Table of Contents
- What causes concrete spalling in the first place?
- How do you tell cosmetic spalling from structural damage?
- How do you repair a shallow surface spall yourself?
- What does a professional spall repair involve?
- Which repair materials and tools actually matter?
- How do you prevent concrete spalling from coming back?
- Why our experience with concrete repair matters here
- A contractor’s honest take on DIY concrete repair
- Get a free quote for spall repair and concrete work
- FAQ
- Sources
What causes concrete spalling in the first place?
Spalling happens when the surface layer of concrete flakes, chips, or breaks away, and the root cause almost always traces back to moisture and stress working together. According to the ACI repair guidance, spalling is often caused by corrosion of embedded reinforcing steel and by freeze-thaw cycles that expand and exert hydraulic pressure inside the concrete.
Rebar sits close to the surface in many slabs, and once moisture and chlorides from deicing salt reach it, the steel rusts and expands. That expansion cracks the concrete above it from the inside out, which is why spalling often shows up years after a slab was poured.
- Corroded rebar expands and pushes the surrounding concrete apart from within.
- Freeze-thaw cycles trap water in the pores and force it to expand as ice.
- Overworking the surface during finishing, or using a mix with too much water relative to cement, weakens the top layer.
- Joints that lose support under repeated wheel traffic spall at the edges over time.
Knowing which of these applies to your slab matters because a patch that ignores the cause tends to fail again within a season or two.
How do you tell cosmetic spalling from structural damage?
A simple sounding test and a few measurements will tell you most of what you need to know before deciding whether this is a weekend project or a call to a contractor.
- Tap the surface with a hammer or drag a steel rod across it; a hollow or dull sound usually means the concrete has delaminated from what’s underneath, even if the surface looks intact.
- Measure the depth of the damage: spalls less than about half an inch deep with no exposed steel are usually cosmetic and patchable.
- Check for exposed or rusted rebar, aggregate poking through, or damage that covers a large, continuous area: these point toward structural concerns.
- Watch for red flags that call for an engineer, including visible loss of rebar cross section, damage that extends half the slab’s depth or more, spalling near a load-bearing edge, or any overhead concrete spalling that could drop material on people below.
- Before calling a contractor, photograph the damage from several angles, measure its length, width, and depth, and note when you first noticed it. If you’re also seeing cracks alongside the spalling, our patio crack triage guide walks through how to document those for an estimate too.
How do you repair a shallow surface spall yourself?
Shallow, cosmetic spalling is a reasonable DIY project if you follow the same sequence professionals use, just at a smaller scale. The ACI RAP-7 bulletin outlines sounding, saw-cutting the perimeter, removing unsound concrete, cleaning any exposed steel, applying a bond coat, placing repair material, and curing as the standard sequence, and that order matters even on a small patch.
- Put on eye protection, gloves, and a dust mask, then isolate the area so pets and foot traffic stay clear while you work.
- Sound the area again to mark the full extent of the delaminated concrete, not just the visible chip.
- Use a circular saw with a masonry blade to cut a clean perimeter about half an inch into sound concrete around the damaged area; this gives the patch a solid edge instead of a feathered one.
- Chip out the unsound concrete inside that perimeter with a hammer and chisel until you hit solid material.
- If you find small surface rust on embedded wire mesh with no real section loss, clean it with a wire brush; if you find rebar with visible pitting or loss of cross section, stop and call a professional.
- Clean the cavity thoroughly, then bring it to a saturated surface dry (SSD) condition, damp but with no standing water, right before placing the repair mortar.
- Mix the repair mortar exactly as the bag directs, place it in the prepared cavity in one or two lifts, and consolidate it with a trowel to avoid trapped air pockets.
- Finish the surface to match the surrounding texture, then cure it.
Curing is where most DIY patches fail. The ICRI field guide emphasizes SSD preparation and proper curing as decisive factors for bond strength and long-term durability, and most repair mortars need a minimum of 7 days of moist curing or a manufacturer-specified curing compound. Cover the patch with plastic sheeting or mist it several times a day if you’re moist-curing in warm weather.
Pro Tip: Mixing the mortar slightly drier than feels natural, and tamping it firmly, bonds better than a wet, pourable mix that shrinks as it dries.
Common mistakes include feathering the patch edge to zero thickness instead of saw-cutting a clean perimeter, mixing the mortar too wet, and skipping the curing step entirely because the surface looks dry after a day. All three shorten the life of an otherwise correct repair.
What does a professional spall repair involve?
Once a spall involves exposed, corroded rebar or covers more than a small patch, the workflow shifts to equipment and techniques most homeowners don’t have on hand. A contractor typically starts with a condition survey and sounding across the whole slab, not just the visible damage, then saw-cuts the repair perimeter and removes unsound concrete with 15 to 30 pound jackhammers sized to avoid micro-cracking the surrounding slab. As ACI’s repair procedures describe.
- Steel that shows section loss is undercut and fully exposed until sound rebar is reached, since patching over corroded steel just masks the problem and the repair will likely fail again.
- Surface cleaning typically uses abrasive blasting or high-pressure water, in the 3,000 to 5,000 psi range, to profile the substrate for bonding, per ICRI’s application guide.
- Depending on the location and depth, pros choose hand-applied mortars, low-pressure spray application, preplaced-aggregate grouting, or form-and-pour placement for deep repairs, as outlined in ACI’s spray-repair bulletin.
- Deep repairs are often formed with watertight forms and consolidated with vibration to prevent voids around the reinforcement.
Repair concrete is generally recommended to reach a compressive strength of at least 4,000 psi, with pull-off bond testing used to confirm the patch has actually adhered to the substrate rather than just sitting on top of it. A reputable bid should spell out the removal method, repair material, curing plan, and whether a bond or strength test is included, along with photos of the finished work and any warranty terms.
Which repair materials and tools actually matter?
Picking the right material depends mostly on patch thickness and exposure, not on price alone.
- Polymer-modified repair mortars handle thin patches and offer better bond and flexibility than straight portland-based mixes, which are usually reserved for thicker sections.
- Bond coats help thin patches adhere to old concrete, and corrosion inhibitors are worth adding when rebar nearby shows early surface rust but no real section loss.
- A dedicated curing compound saves you from hand-misting a patch for a week, though plain moist curing works fine for small jobs.
- A basic tool list includes a circular saw with a masonry blade or angle grinder, a chipping hammer, a pressure washer or wire brush for cleaning, margin and finishing trowels, and a mixing bucket or drill paddle.
Check the product label for freeze-thaw durability, the manufacturer’s recommended minimum and maximum thickness, and the specified curing window before you buy; mismatching thickness to product is a common reason thin patches pop loose.
How do you prevent concrete spalling from coming back?
The best repair is the one you never have to make twice, and most prevention comes down to mix quality, finishing, and a few seasonal habits.
- If you’re pouring new concrete, insist on a low water-to-cement ratio and proper air entrainment; the NRMCA’s technical bulletin and industry scaling guidance%20REV%2008192034.pdf?hsLang=en) both tie proper air content and finishing directly to lower scaling and spalling risk.
- Avoid overtroweling fresh concrete, since it drives air out of the surface layer and weakens it.
- Skip aggressive deicing chemicals on concrete younger than a year, use sand for traction instead, and rinse off any salt residue after winter storms.
- Reseal exterior concrete with a penetrating sealer roughly every 3 to 5 years to keep water and chlorides from soaking in.
- Check that your patio or walkway slopes away from the house and that drainage isn’t pooling water against the slab; our drainage diagnosis guide covers how to spot saturation problems before they cause damage.
Pro Tip: Running a finger test along your patio after a rain, checking for puddles that linger more than a few hours, tells you more about future spalling risk than looking at the surface itself.
Why our experience with concrete repair matters here
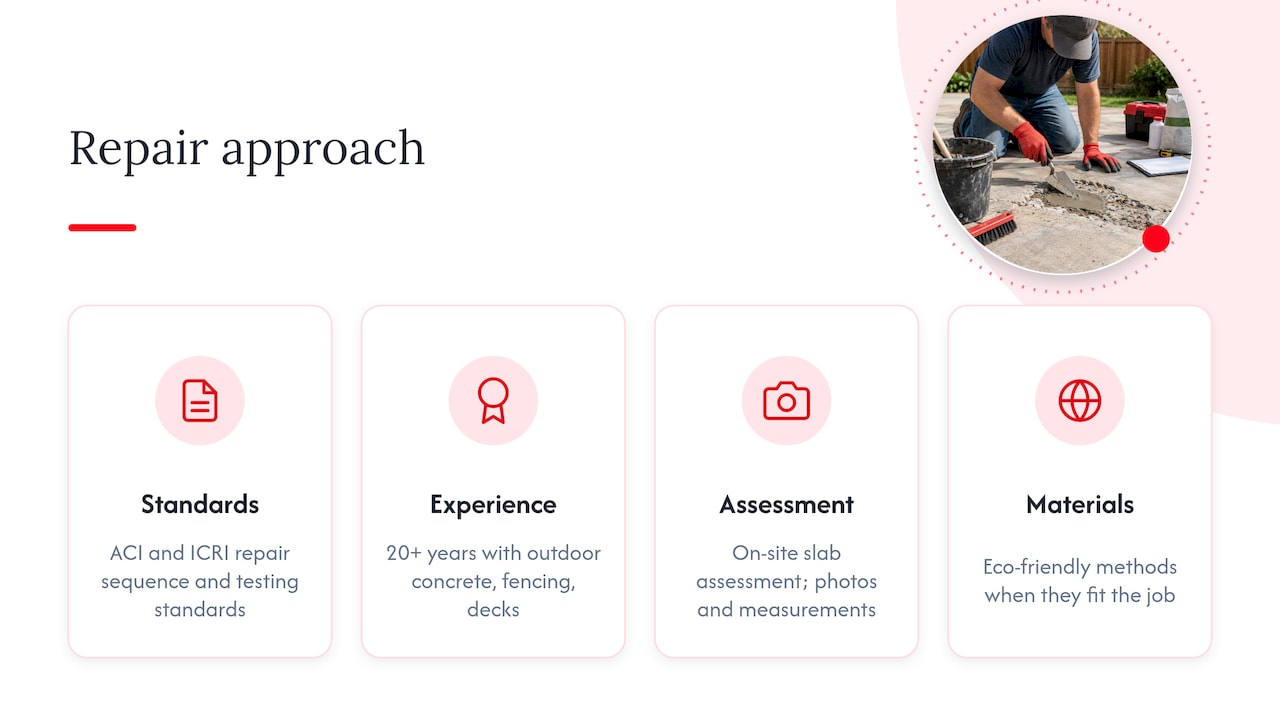
This guide draws on the repair sequence and testing standards published by ACI and ICRI, paired with what we see in the field across more than 20 years of building and repairing outdoor concrete, fencing, and decks. We assess each slab on site, scope the repair with photos and measurements, and favor eco-friendly materials and methods where they fit the job.
If your spalling is tied to a cracked patio or a slab you’re considering resurfacing instead of patching, our guides on resurfacing a concrete patio and diagnosing patio cracks cover the decision points in more depth.
A contractor’s honest take on DIY concrete repair
DIY patching makes sense for small, shallow cosmetic spalls you can fully assess with a hammer and a tape measure. It stops making sense the moment you find exposed rebar, a hollow sound across a wide area, or damage near a step or structural edge. When you do call for bids, ask each contractor what they found during sounding, what material and thickness they’re proposing, and how they’ll cure and test the repair, and get that scope in writing before signing anything.
— Abraham
Get a free quote for spall repair and concrete work
Concrete pouring, paving, and finishing, including spall repair, are handled as part of regular work alongside fencing, decks, and retaining walls, and an initial assessment is offered without charge.

- A site visit includes a hands-on inspection, sounding where needed, and photos of the damaged area.
- You’ll get a written scope describing the repair method, materials, and expected timeline.
- Your estimate breaks down the cost before any work starts, with no obligation to proceed.
If you’re ready to get a spall, crack, or patio problem looked at, reach out through our concrete services page to request a free quote and get a date for a site visit.
FAQ
Can you fix spalling concrete yourself?
Yes, for shallow, cosmetic spalls with no exposed rebar, a careful homeowner can saw-cut the perimeter, remove the damaged concrete, clean the cavity, and apply a bonded repair mortar. Deeper spalls with exposed or corroded steel need a contractor or engineer to assess section loss and plan the repair properly.
What is the best product to repair spalling concrete?
For thin patches, a polymer-modified repair mortar generally bonds and flexes better than a straight portland-based mix, which works best for thicker repairs. Check the product label for its recommended thickness range and curing instructions before buying, since mismatching the product to your patch depth is a common cause of early failure.
How much does it cost to repair spalling concrete?
Published pricing varies too widely by region, repair depth, and material to state a single figure here, and costs depend heavily on whether rebar needs to be exposed and treated. A written scope and free site visit, like the one we offer through our concrete services page, gives you an accurate estimate based on your specific damage.
Can you patch crumbling or scaling concrete?
Minor scaling is often repairable with a thin bonded resurfacing layer, but severe scaling or extensive surface loss may need grinding or deeper remediation, according to NRMCA’s technical bulletin, and a resurfaced patch may not perfectly match the original texture. If crumbling extends below the surface layer or affects a large area, treat it the same way you would a structural spall and have it assessed before patching.
How long does a concrete repair patch need to cure?
Most repair mortars need a minimum of 7 days of moist curing, or whatever window the manufacturer specifies on the product label. Keeping the patch damp or covered during that window, rather than letting it dry out in the sun, has a direct effect on how well it bonds and how long it lasts.
Sources
- Spall Repair of Horizontal Concrete Surfaces (ACI RAP-7)
- Field Guide to Concrete Repair Application Procedures (ICRI / ACI RAP-6)
- NRMCA technical bulletin on scaling and prevention