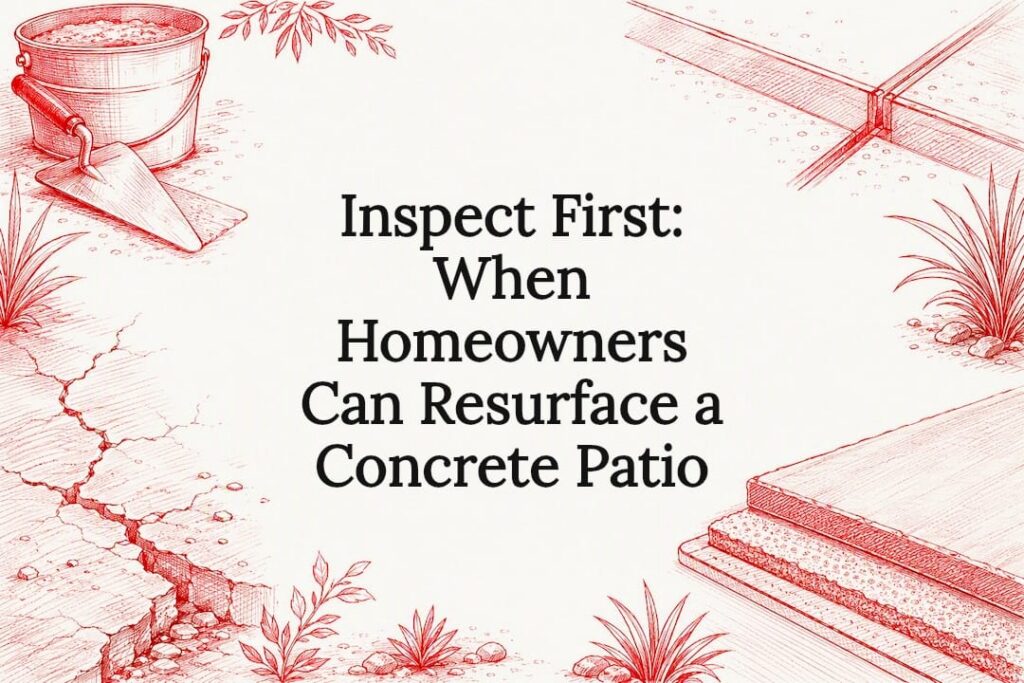
You can resurface a concrete patio if the existing slab and the base beneath it are structurally sound. If the concrete is heaving, cracked wider than a pencil, or shifting underfoot, resurfacing will only hide the problem for a season or two. Start by inspecting for base failure and checking the red flags below before you buy a single bag of resurfacer.
TL;DR:
- Resurfacing is suitable only when the slab is in good condition, with cracks narrower than half an inch and no signs of heaving or shifting.
- Cost for basic resurfacing ranges from $3 to $9 per square foot, but it lasts only 8 to 15 years unless combined with regular resealing.
- Proper surface preparation, including crack repair and mechanical cleaning, is crucial to prevent early failures like delamination.
- DIY resurfacing is feasible on small, stable patios with minimal cracks but problematic for large or structurally compromised slabs.
- Hiring a professional is recommended when addressing drainage, extensive cracking, or when mechanical grinding and comprehensive repair are needed.
Table of Contents
- Should I resurface or replace my concrete patio?
- How do you resurface a concrete patio yourself?
- Which resurfacing material is right for your patio?
- How much does it cost to resurface a concrete patio?
- How do you prevent delamination and other resurfacing failures?
- When should you hire a professional instead of DIYing it?
- What I’d tell a neighbor before they touch their patio
- Get a Free Quote for Your Concrete Patio Project
- Sources
- FAQ
Should I resurface or replace my concrete patio?
The slab tells you the answer if you know what to look for. Resurfacing is a cosmetic and structural surface repair, not a foundation fix, and it only works when what’s underneath is still doing its job.
A handful of warning signs mean you’re looking at replacement, not resurfacing:
- Cracks wider than 1/4 to 1/2 inch, especially if they’ve grown over a season or two
- Heaving or uneven sections where one slab edge sits noticeably higher than its neighbor
- Rocking or “teeter-totter” slabs that shift when you stand on them
- Widespread, spiderwebbed cracking across most of the surface rather than isolated spots
- Drainage or foundation failure, including water pooling against the house or soil washout under the slab
If your patio’s problems are cosmetic instead, resurfacing is usually the smarter move. Scaling (that flaky, peeling top layer), spalling, hairline cracks that haven’t moved in years, and old discoloration or stains are exactly what resurfacing was built to fix.
The financial case matters too. Resurfacing a sound slab typically costs 40 to 60% less than tearing out and repouring, and a well-prepped overlay lasts roughly 8 to 15 years before it needs another treatment. Full replacement costs more upfront but buys you 30 or more years. If your base has already failed, though, resurfacing is money spent to delay the inevitable. As one industry breakdown puts it, diagnosing the actual cause of the damage matters more than picking a product, because an overlay on an unstable base just masks the failure temporarily.
How do you resurface a concrete patio yourself?
Once you’ve confirmed the slab is sound, the process follows a fairly predictable sequence. Skipping steps here is where most DIY resurfacing jobs go wrong.
- Inspect the slope and joints. Water should drain away from the house, not pool in low spots. Check every expansion joint and note any hairline movement before you start.
- Repair cracks and spalled areas first. Clean out debris, undercut the edges of any crack slightly so the patch has something to grip, and fill with a concrete patching compound before you ever touch the overlay material.
- Clean and profile the surface. Power wash to strip dirt, oil, and old sealer, then degrease stubborn spots. Mechanical grinding creates a more reliable bond than acid etching and tends to hold up longer, which is why most pros reach for a grinder over a jug of muriatic acid. If you’re also cleaning a wood deck nearby, the same pressure-washing fundamentals apply to technique and safety gear.
- Control moisture before applying anything. The slab needs to be saturated surface dry, meaning damp to the touch with no standing puddles. A bone-dry slab will pull moisture out of your overlay and cause it to shrink and crack.
- Mix and apply at the right consistency. Most polymer-modified resurfacers spread between 1/16 and 1/2 inch thick depending on the product. Work in sections with a squeegee or trowel, since most mixes only give you 20 to 30 minutes of working time before they start setting.
- Let it cure, then seal. Some products allow foot traffic in as little as 6 hours and vehicle traffic within 24 hours under ideal conditions, according to QUIKRETE’s Re-Cap resurfacer datasheet. Hold off on furniture for a few days and plan to seal once the surface has fully cured.
Pro Tip: Test the slab’s moisture the morning of application by taping a small square of plastic sheeting to the surface overnight. Condensation underneath means it’s still drying out from a recent rain, and you should wait another day before mixing anything.
Which resurfacing material is right for your patio?
Not every overlay product behaves the same way outdoors, and picking the wrong one for your climate is a common regret. Here’s how the main categories break down:
- Bagged concrete resurfacer — a polymer-modified cement product mixed on-site, the standard choice for straightforward DIY jobs on patios with minor surface wear.
- Polymer-modified cement overlays — thicker, more durable versions used when you want added texture or need to fill deeper surface imperfections.
- Microtoppings — thin, smooth finishes often chosen for a modern look, best suited to slabs in good shape already.
- Liquid coatings (epoxy vs. polyaspartic) — epoxy is popular indoors, but outdoors it can yellow and turn brittle under UV exposure and freeze-thaw cycling. Polyaspartic and flexible polymer overlays hold up better in climates with real temperature swings.
For finish, broom or brush textures give basic slip resistance, stamped and colored overlays mimic stone or tile, and broadcast flakes add both grip and a decorative flair. Professional-grade polyaspartic systems cure faster and resist UV better than DIY-grade coatings, which is worth the added cost on pool decks or patios that bake in direct sun most of the day.
How much does it cost to resurface a concrete patio?
Basic resurfacing runs about $3 to $9 per square foot, with straightforward jobs landing closer to $3 to $7 and decorative overlays (stamped, colored, or flake-broadcast) climbing to $6 to $20. Full replacement runs roughly $15 per square foot once you account for demolition and disposal. Some cost trackers, including Angi’s 2026 reporting, put basic patio resurfacing closer to $4 per square foot on average, which lines up with the lower end of that range.
By the numbers: a 200 square foot patio runs roughly several hundred to over a thousand dollars for basic resurfacing, more for decorative overlays, and significantly more for full replacement.
Timeline-wise, prep and crack repair usually take a full day, overlay application takes another, and professional installs typically wrap in one to three days total with foot traffic allowed within 6 to 24 hours. Expect a resurfaced patio to last 8 to 15 years if you reseal it every 2 to 3 years, versus 30-plus years for a full replacement. For a deeper local cost breakdown, see our full patio cost guide.
How do you prevent delamination and other resurfacing failures?
Most overlay failures trace back to one of a few root causes: skipping mechanical profiling, applying over dirt or oil residue, getting the moisture state wrong, working in direct hot sun, or accidentally sealing over control joints that need to stay flexible. Watch for hairline “telegraphing” cracks that mirror cracks in the slab below. That’s your early warning sign of delamination, and a light patch might buy you time, but a full recoat is the real fix.
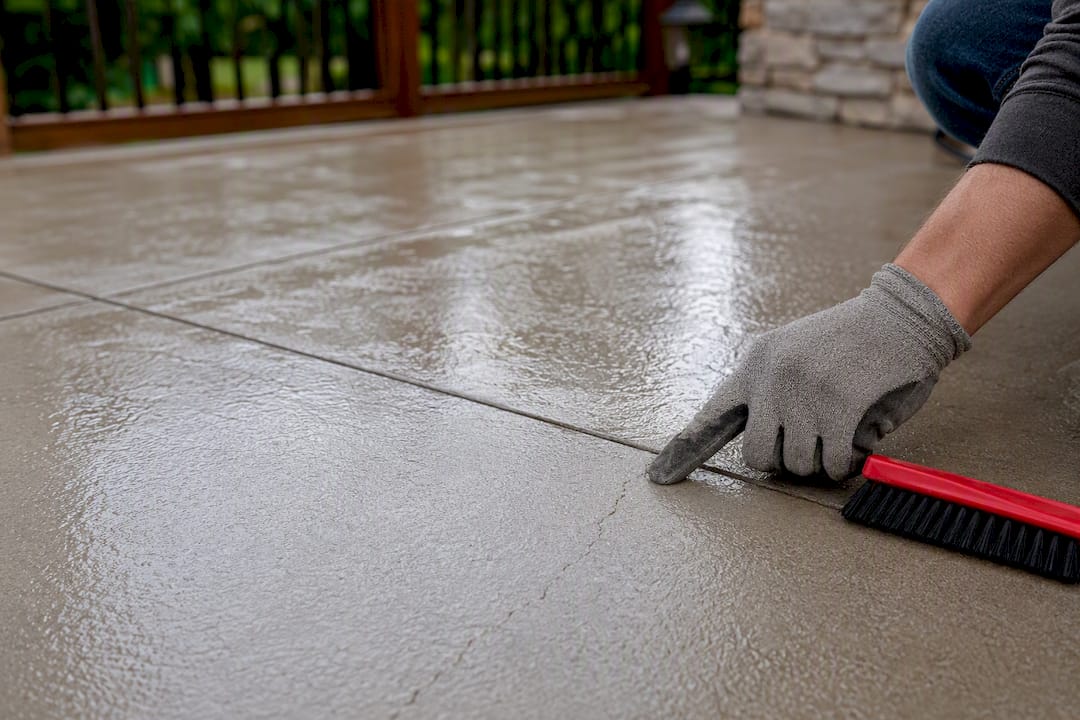
Keep your resurfaced patio in shape with regular cleaning, resealing every 2 to 3 years, and avoiding harsh de-icing salts in winter, which chew through sealers fast. If a patio has failed a second or third resurfacing attempt, that’s usually the base talking. It’s time to consider replacement.
Pro Tip: Never reseal directly over a control joint. Run a utility knife along the joint line after sealing to keep it functional, or the slab can crack somewhere else instead.
When should you hire a professional instead of DIYing it?
Small patios with shallow, stable cracks and simple surface wear are reasonable DIY territory for a confident homeowner with a weekend to spare. Structural cracking, drainage regrading, or a large overlay that needs mechanical grinding equipment is a different story. That’s where experienced, licensed crews earn their fee.
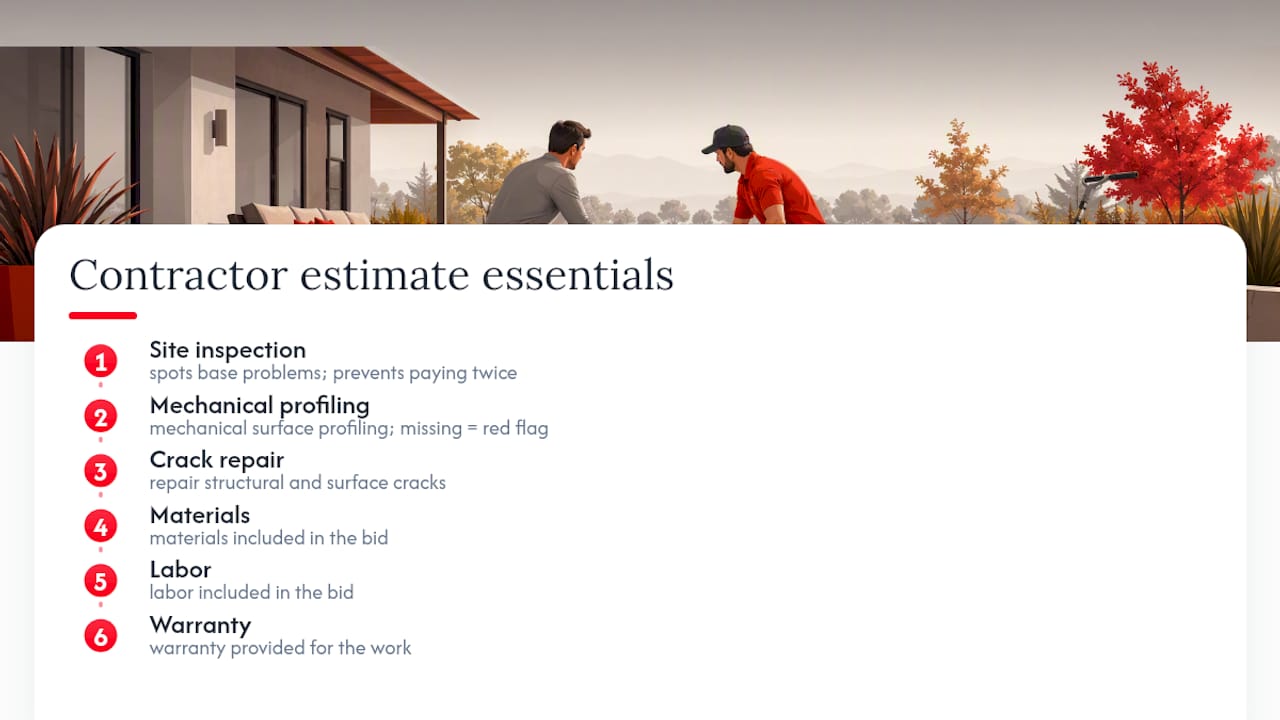
A legitimate contractor estimate should include a site inspection, mechanical surface profiling, crack repair, materials, labor, and a warranty. If a bid skips the inspection or profiling step entirely, treat that as a red flag. It usually means corners get cut later. A crew with real fieldwork behind it also spots base problems a homeowner might miss, which saves you from paying twice: once for resurfacing, again for the replacement it should have been.
What I’d tell a neighbor before they touch their patio
Resurface a sound slab, replace a failed one. That’s the whole decision tree. If you’re not sure which category yours falls into, take a few photos, run the checklist above, and request a free quote before you commit to a bag of resurfacer.
— Abraham
Get a Free Quote for Your Concrete Patio Project
If your inspection turned up base failure, wide cracks, or drainage problems that go beyond a weekend fix, a professional contractor handles the work resurfacer bags can’t: concrete pouring, paving, and finishing, plus masonry repairs for damaged footings and pressure washing to prep the surface right the first time.

Hiring a professional makes the most sense when you’re dealing with a large overlay that needs mechanical grinding equipment, drainage that needs regrading, or a project where you want a workmanship warranty backing the result, such as those found at One Day Doors & Closets of Palm Beach. Before requesting an estimate, gather a few photos of the damage, your patio’s square footage, and any history of prior cracking or repairs. It speeds up the quote and helps the crew spot base issues before they start. Experienced builders can tell the difference between a slab worth saving and one that’s done, and they’ll say so honestly instead of overselling a resurface that won’t hold. Check the full range of concrete and masonry services and request a free, no-pressure quote to find out which path fits your patio and your budget.
Sources
Technical claims and cost ranges throughout this guide draw from ConcreteNetwork’s resurfacing process guide, ConstructionCalc’s cost comparison, the QUIKRETE Re-Cap product datasheet, and Sakrete’s project guide on moisture control.
- ConstructionCalc: Concrete resurfacing vs replacement
- QUIKRETE Re-Cap Concrete Resurfacer datasheet
- ArmorPoxy: Grinding vs acid etching
FAQ
Can concrete patios be resurfaced?
Yes, as long as the slab and the base beneath it are structurally sound. If you’re seeing wide cracks, heaving, or rocking sections, replacement is the better long-term fix since resurfacing only masks a failed base temporarily.
How much does it cost to resurface a concrete patio?
Basic resurfacing typically runs $3 to $9 per square foot, with decorative overlays reaching $6 to $20 per square foot. A 200 square foot patio generally costs several hundred to over a thousand dollars, depending on the finish you choose.
Is concrete resurfacing worth it?
It’s worth it when your slab is structurally fine but looks worn, stained, or scaled, since it costs roughly 40 to 60% less than full replacement and lasts 8 to 15 years with proper resealing. It’s not worth it over a failed base, since you’d be paying to delay a replacement you’ll need anyway.
What can I put over a concrete patio to make it look better?
Options range from bagged polymer-modified resurfacers for a fresh, smooth finish to decorative stamped or colored overlays and broadcast flake systems for texture and slip resistance. In climates with real temperature swings, polyaspartic coatings hold up better than standard epoxy against UV fading and freeze-thaw cracking.
When should I hire a professional instead of resurfacing myself?
Hire a pro for structural cracking, drainage problems, or any overlay large enough to require mechanical grinding equipment. A proper contractor quote from a company like Actionfenceanddeck includes an inspection, surface profiling, materials, labor, and a warranty, which protects you from paying twice if the base turns out to be the real problem.