
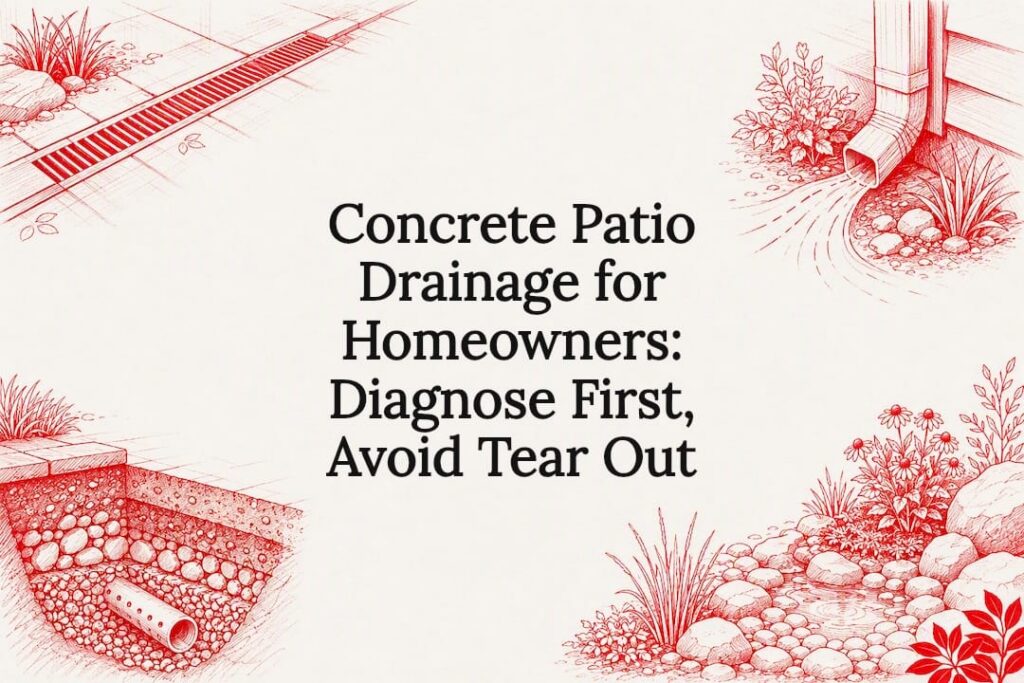
Most patio ponding gets fixed by making sure the slab slopes away from the house at roughly a quarter inch per foot. When a full re-pour isn’t practical, a trench drain, a targeted grinding job, or a French drain tied to a proper outlet usually solves it. Skip straight to tear-out only when the slope runs toward the foundation or standing water covers most of the slab.
TL;DR:
- Measure the existing slope accurately using a string line and a level before attempting any repair to identify the true drainage direction.
- Trench and channel drains effectively address surface runoff at specific points, but they require regular maintenance to stay clear of debris.
- French drains are suitable only for subsurface groundwater issues and will not solve ponding caused by surface water or improper slope.
- Fixing low spots with grinding and overlays works for shallow, isolated dips but cannot correct slope errors exceeding about half an inch.
- A full tear-out and re-pour becomes necessary if the slope runs toward the house or if ponding covers most of the slab, as retrofits won’t address the core problem.
Table of Contents
- Quick Checklist: Fix Priorities for Concrete Patio Drainage
- How Do You Diagnose a Concrete Patio Drainage Problem?
- What Slope and Base Specs Matter for a New Concrete Patio?
- Which Retrofit Fixes a Sunken or Ponding Patio?
- How Should You Size and Maintain a Patio Drain Outlet?
- Does Soil Type Change How Well Patio Drainage Works?
- How Do Weather Patterns Affect Patio Drainage Design?
- Can Patio Drainage Look Good, Not Just Work?
- What a Field Crew Actually Sees on Drainage Calls
- Get a Professional Look at Your Patio Drainage
- Sources
- FAQ
Quick Checklist: Fix Priorities for Concrete Patio Drainage
Before spending a dollar, measure the slope and figure out exactly where water collects. Everything else follows from that one step.
- Measure first. A string line and a line level tell you which way the slab actually pitches, not which way you assume it does.
- Grind and overlay for small, isolated low spots. This is the cheapest fix and works well when 80% of the slab already drains fine.
- Install a trench or channel drain when water sheets off an edge onto a patio door threshold, a walkway, or compacted soil that won’t absorb it.
- Use a French drain only for subsurface groundwater problems, like a soggy band along the foundation. Tie it to a dry well or a daylight outlet, never a dead end.
- Tear out and re-pour when the slope runs toward the house or ponding covers most of the surface. No retrofit fixes a slab that was formed backward.
Each of these solves a different problem. Picking the wrong one is the single most common reason patio drainage fixes fail within a season or two.
How Do You Diagnose a Concrete Patio Drainage Problem?
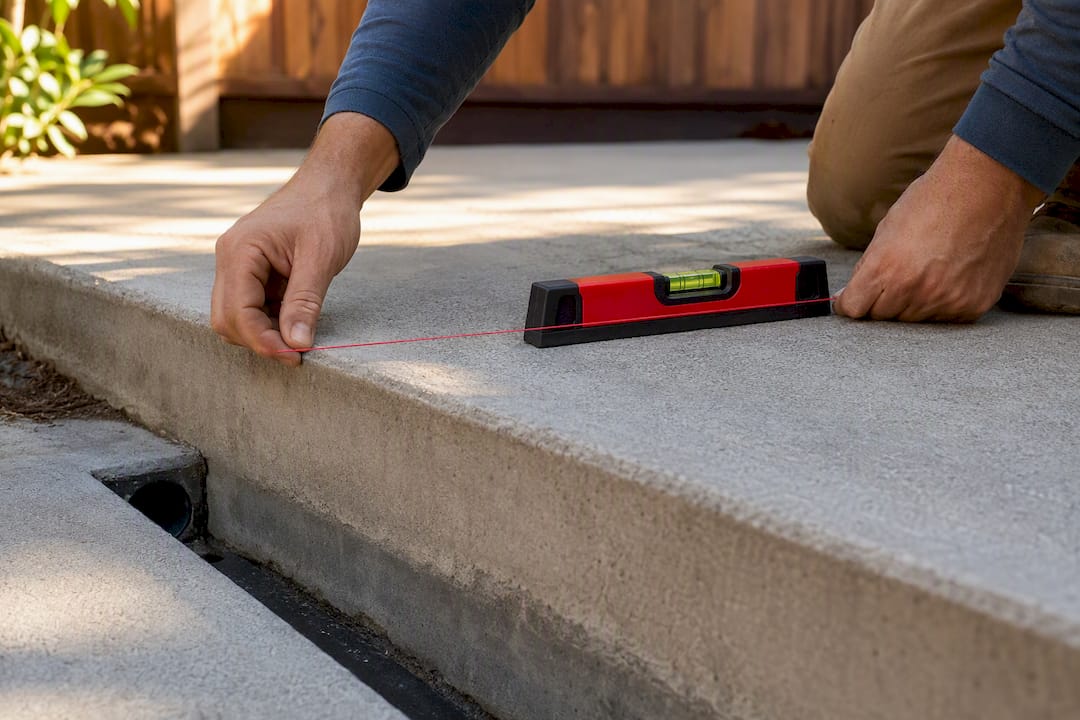
You can’t fix what you haven’t measured. Grab a 100-foot string line, a line level, and a tape measure, and stretch the string from the high point of the slab (usually against the house) to the low edge.
- Set the string line taut between two stakes or clamp it to a straight board at each end of the run you’re checking.
- Read the line level at the midpoint and note whether the string reads level, sloping toward the house, or sloping away.
- Calculate expected drop. For a 12-foot patio at the industry-standard 2% pitch, the math is length times pitch times 12: 12 ft × 0.02 × 12 = roughly 2.88 inches of total fall, according to a concrete patio slope calculator built around that standard.
- Run the garden-hose test. Turn on a hose at the high side and watch where water pools instead of moving. Pooling near the house, rather than at the outer edge, tells you the slope is wrong, not just insufficient.
- Check the outlet. If water reaches an edge drain or downspout but backs up anyway, the pipe may be undersized or clogged with sediment.
A wet band along the siding or slow-draining test holes points to subsurface saturation, not surface runoff. Pro Tip: Run the hose test during a dry stretch, then again right after a storm. A spot that only pools after heavy rain usually means the outlet can’t keep up, not that the slope itself is bad.
What Slope and Base Specs Matter for a New Concrete Patio?
If you’re pouring new, get the specs right before the trucks show up, because fixing a badly formed slab later always costs more than setting it correctly the first time.
- Slope: Target 1/4 inch per foot (about 2%) falling away from the house. ACI 302.1R and IRC R401.3 reference 1/8 inch per foot as an absolute minimum, but 1/4 inch per foot is standard practice for patios because anything flatter leaves water sitting long enough to stain and pit the surface.
- Verify before the pour, not after. Set forms, then check them with a string line or laser level. Forms set “level to look right” by eye are one of the most common reasons homeowners end up calling for a retrofit within a few years.
- Subbase: Use compactible gravel, compacted to roughly 4 inches. It stabilizes the slab and gives water somewhere to go besides the surface.
- Slab thickness and joints: Keep the low-edge thickness at 4 inches minimum, and lay out contraction joints to run with the fall rather than across it, so the finish texture and joint lines shed water instead of trapping it.
- Trench drains at pour time: If the layout calls for one, install it during the original pour with a 4 inch minimum outlet pipe and a clear termination point, not as an afterthought once the concrete is cured.
A slab that drains correctly stays drier between storms, which matters more than it sounds. Standing water on concrete accelerates surface scaling, sealer breakdown, and subgrade saturation that shortens the life of the whole installation.
Which Retrofit Fixes a Sunken or Ponding Patio?
Not every drainage problem needs a jackhammer. Most existing slabs can be corrected with one of four retrofits, and picking the right one depends entirely on what your diagnosis turned up.
Grinding and micro-topping overlays work well for shallow, isolated low spots, think a dip the size of a dinner plate near a joint. A concrete grinder removes high spots, and a thin-set overlay fills the low ones to restore a consistent slope. It’s inexpensive but has limits: it won’t correct a slope that’s off by more than roughly half an inch, and the overlay can wear faster than the original slab under heavy traffic.
Trench and channel drains intercept surface runoff at an edge, a threshold, or a spot where water sheets onto hardscape or unabsorptive soil. They need a grate that stays clear of leaves and a pipe that actually goes somewhere.
Perimeter French drains solve subsurface water, not surface puddles. A French drain moves groundwater through gravel and perforated pipe below grade; it does nothing for rainwater sitting on top of the slab. As drainage specialists put it, a French drain is not a substitute for a trench drain that needs to move surface runoff quickly.
Dry wells and daylight outflows give the water somewhere to go once it leaves the drain. Daylighting downhill is simpler and cheaper where grade allows it; a dry well is the fallback when there’s no downhill slope to exploit, and larger installations may require a permit.
| Retrofit option | Best for | Typical limitation |
|---|---|---|
| Grinding/overlay | Small, isolated low spots | Won’t fix slope errors over about 1/2" |
| Trench/channel drain | Surface runoff at edges or thresholds | Needs regular grate cleaning |
| Perimeter French drain | Subsurface groundwater, wet foundation bands | Useless against pure surface ponding |
| Dry well/daylight outlet | Terminating any drain system | May need a permit for larger wells |
When the slope runs toward the house, or ponding covers most of the slab rather than a corner, no retrofit fixes it, making it important to understand how to sell a house with foundation problems if drainage issues lead to structural concerns. That’s a partial or full re-pour situation, and it’s worth reading about realistic concrete patio cost expectations before you commit.
How Should You Size and Maintain a Patio Drain Outlet?
The drain itself rarely fails first. The outlet does. Undersized pipe and dead-end basins that fill with sediment are the most common reasons a working drain stops working within a year or two.
- Size the outlet pipe at 4 inches minimum for residential trench drains, and slope that outlet pipe at least 1/8 inch per foot so water actually moves instead of sitting in the line.
- Daylight the outlet when the grade allows it. Water that exits above grade and visibly runs downhill is far easier to inspect and unclog than a buried dead end.
- If daylighting isn’t possible, size a dry well properly and leave an access point so you can check it, rather than burying it and hoping.
- Watch for the usual failure signs: a grate that overflows in moderate rain, water that backs up at the basin, or a musty smell near the outlet suggesting standing water underground.
A five-minute seasonal check catches most of this early: clear grates of leaves and debris, flush the line with a hose after long dry spells, and walk the outlet path after the first big storm of the season to confirm water is actually leaving the property.
Does Soil Type Change How Well Patio Drainage Works?
Soil underneath and around the slab decides how forgiving your drainage system needs to be. Clay-heavy soil, common across much of the country, absorbs water slowly and stays saturated for days after a storm. Dump a trench drain’s discharge onto compacted clay and you’ve just relocated the puddle a few feet away instead of solving it.
Sandy or well-draining soil is far more forgiving. It absorbs runoff quickly, which means a simpler daylight outlet can handle water that would overwhelm the same setup on clay. The trade-off is that sandy soil next to a slab settles more overtime, which is part of why low spots reappear on some patios and not others even when the original pour looked fine.
The fix isn’t complicated, but it does require matching the outlet to the ground. On clay soil, that usually means directing water further from the slab, toward a swale, a dry well sized generously, or a storm drain connection rather than a shallow daylight point ten feet from the patio. On sandy soil, a smaller dry well or even a gravel-filled dispersal trench often does the job. Skipping this step, and assuming any patch of yard will absorb runoff, is exactly the edge drainage mistake that leads to perimeter undermining and a slowly sinking slab edge a few years down the road.
If you’re unsure what’s under your yard, a simple percolation check tells you plenty: dig a hole a foot deep, fill it with water, and time how long it takes to drain. Anything slower than an inch an hour is a sign your outlet plan needs to send water further away, not just off the slab.
How Do Weather Patterns Affect Patio Drainage Design?
Rainfall intensity, not just total rainfall, drives how a drainage system gets sized. A region that gets frequent, heavy downpours needs a wider trench drain and a larger outlet pipe than one with the same annual rainfall spread across gentle, steady rain. A drain sized for a drizzle backs up fast during a cloudburst.
Freeze-thaw cycles add a second layer to the problem. Water that sits on a poorly sloped slab through a cold snap expands as it freezes, and that cycle repeated over a winter is what causes the surface scaling and pitting that shows up as flaking concrete come spring. A slab that drains well between storms rarely shows this kind of damage, because there’s no standing water left to freeze in the first place.
Heavy snow country adds another wrinkle: a slope that’s technically adequate for rain can still leave slush sitting in a low spot long enough to refreeze overnight, creating recurring ice patches in the same location year after year. That pattern, ice forming in the same spot every winter, is a reliable sign of a low point that needs grinding or an overlay, even if the area drains fine the rest of the year.
Drought-prone regions face the opposite issue: soil that dries out and cracks can shift slightly, changing the slope of an existing slab over a few dry seasons. It’s worth rechecking your patio’s pitch with a string line every few years, not just after you notice a problem, especially in areas with big seasonal swings in soil moisture.
Can Patio Drainage Look Good, Not Just Work?
A functional drain system doesn’t have to look like a construction site. Trench drains now come with slotted metal, stone-look, or paver-matched grates that sit nearly flush with the surrounding surface, so the line disappears into the design instead of standing out as a strip of metal across your patio.
French drains have an even easier time blending in, since the pipe and gravel sit below grade. The only visible piece is the outlet, and that’s where landscaping does real work. A daylight outlet tucked into a planting bed, or disguised behind a low retaining wall, moves water away without leaving an ugly pipe end sticking out of the lawn. If you’re already planning grade changes near a slope, it’s worth looking at how a retaining wall’s own drainage ties into the same downhill path, since running two separate outlet systems side by side usually costs more than coordinating one.
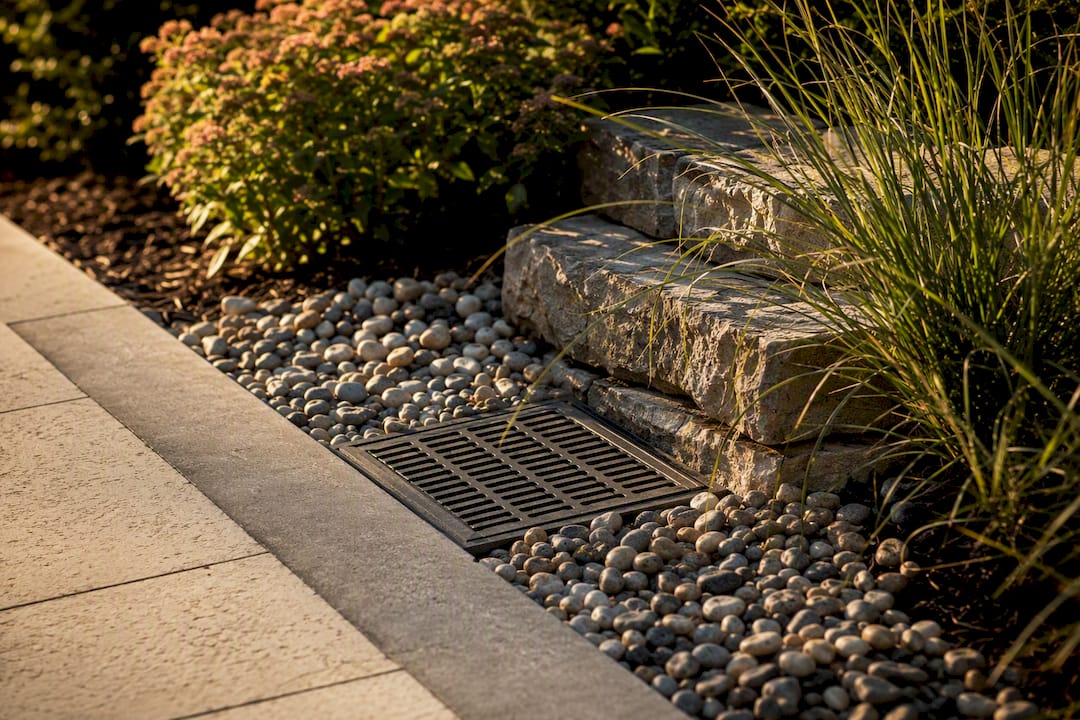
Slope itself can double as a design feature. A patio that falls gently toward a rain garden or a dry creek bed planted with river rock turns a drainage requirement into a landscaping element, rather than hiding it. The trick is planning the finished grade and the plant beds at the same time as the slab, not adding drainage as a fix after the landscaping is already in.
Micro-topping overlays used to fix low spots also let you refresh the whole surface’s color or texture at once, so a functional repair doubles as a cosmetic upgrade instead of leaving a visible patch.
What a Field Crew Actually Sees on Drainage Calls
Every drainage call starts the same way for our crews: measure the slope and check the outlet before touching anything else. That order matters more than the fix itself, because guessing at the cause wastes a homeowner’s money on the wrong repair.
The mistakes we see most often are avoidable. Homeowners pour gravel into a low spot expecting it to solve drainage on its own, without any outlet for the water to actually leave. Others install a French drain to catch surface rain, then wonder why puddles still form on top of the slab. Outlet pipes get run at the minimum size, or worse, dead-ended into a patch of lawn that’s already saturated.
With over 20 years building outdoor structures and a focus on materials that hold up without excess waste, our licensed and insured crews treat diagnosis as the job, not a formality before the real work starts.
— Abraham
Get a Professional Look at Your Patio Drainage
If the string-line test shows your slope running the wrong way, or a French drain and a trench drain both sound like they might apply, that’s usually the point where a professional eye saves you from an expensive guess. This problem can be addressed by grinding and overlays for minor low spots, trench and French drain installation, and full tear-out and re-pour when the slab’s beyond saving, ideally performed by licensed and insured crews who focus on materials and methods that hold up over time.

Every quote starts with an actual inspection of your slope and outlet, not a phone estimate, because the fix depends entirely on what’s causing the ponding in the first place. If you’re staring at a puddle that won’t drain, request a free quote and get a straight answer on what it’ll take to fix it for good.
Sources
- Concrete Patio Slope Calculator: Drainage Pitch (Free)
- Concrete Patio Slope: Drainage That Protects Your Home
- Trench drain vs French drain for patio drainage
- Concrete Patio Drainage Mistakes That Destroy Slabs in NC (2026)
FAQ
How do I drain water off a concrete patio?
Start by measuring the slope with a string line to confirm which way it actually pitches. If it slopes away from the house but drains slowly, a trench drain or French drain retrofit usually solves it; if it slopes toward the house, you’re looking at a partial re-pour.
What are the best drainage options for a patio?
The right option depends on the cause: grinding or an overlay for small low spots, a trench or channel drain for surface runoff at an edge, and a French drain tied to a dry well or daylight outlet for subsurface groundwater. Mixing these up is the most common reason a fix doesn’t hold.
Can I just use gravel for drainage?
Gravel alone rarely fixes a drainage problem because it has no outlet for the water to leave once it’s saturated. It works as part of a system, packed around a perforated pipe in a French drain, or as a compacted subbase under a new slab, but not as a standalone fix for surface ponding.
How do I add drainage to an existing concrete slab?
You can cut a trench along the low edge and install a channel drain, install a perimeter French drain if the issue is subsurface water, or grind and overlay isolated low spots without touching the rest of the slab. Widespread ponding or a slope that runs toward the house usually means those retrofits won’t hold, and a partial re-pour is the more durable route, which a free quote from Actionfenceanddeck can confirm on site.